Showing posts with label make it work. Show all posts

Wednesday, September 28, 2011

Upcycled Scarf

Check out this awesome scarf made from a t-shirt.
This is a fall must have.
Tutorial can be found at tidymom.net

Tuesday, September 27, 2011

Another Banner DIY

I am a sucker for banners.
Look at how cute and simple this DIY roller stamp is made from an elastic and a roller.
Love it!
Full tutorial can be found over at justsomethingimade.com.

Friday, September 23, 2011

Paper Bag Floor

I am totally in DIY project mode.  I have a few projects I am trying to finish up.  Until I finish them, check out this floor.  It was created from a roll of brown paper and glue.  So cleaver.
Check out the full tutorial found over at
Have a great weekend.

Monday, September 19, 2011

How To Remove A Grease Spot

This weekend The Mr and I were able to participate in a 24 hour cycling relay.  We had a blast.  As we were waiting for one of our riders to come in I brushed up against a bike and got a chain mark on the back of my favorite pants.
I was pretty bummed until I found out that Dawn dish soap not only
"takes grease out of your way", but it takes grease out of clothes!
I wish I had some pics but didn't think about taking one before I washed it! 
Just put a little soap on the grease spot and work it in, wash and, amazingly, it comes right out!  I am buying another bottle for my laundry closet.
Thanks, Trudy for this tip!!!

Wednesday, September 7, 2011

Painted Funiture

Did you know that you can PAINT an upholsted chair or couch?
Well you can!  I found a great tutorial over at
I really want to try this.  All I need to do is find a place to put a chair!!!

Monday, August 29, 2011

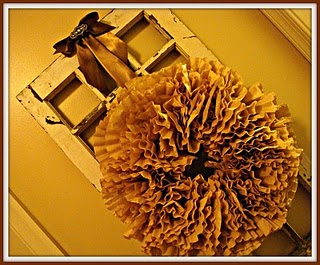
DIY Wreath

Do you want to make a wreath but don't want to spend a lot?
I found this great cheap idea on
Use foam from the home improvement store, duct tape, coffee filters, and a glue gun.
 Before and After!
Such a great idea!
The full tutorial can be found at the

Monday, August 22, 2011

Back to School

Happy Back to School!
I have such mixed emotions about this.  My little girl is now in the 1st grade.
Nooooo.  She is growing up way to fast.
I really love this age but I am going to miss her while she is at school. 
Do you like E's backpack and lunch box?
We found them at Downeast.
If you haven't heard of Downeast then check this out.
Potterybarn backpack $8 PB lunch box $2.50.  Can't beat that.
Perfect condition just monogrammed with someone else's name!
 So...I covered them up using a sew on cotton applique.
{I actually glued it on with liquid stitch}
Don't use the iron-on kind because the iron will melt your backpack!
All done.
So cute and so easy. 

Wednesday, August 10, 2011

More Storage Please

I am always looking for more storage.
This is a great way to store items under your bed. 
You can find the tutorial here.

Monday, August 8, 2011

Upcycled Grocery Bag

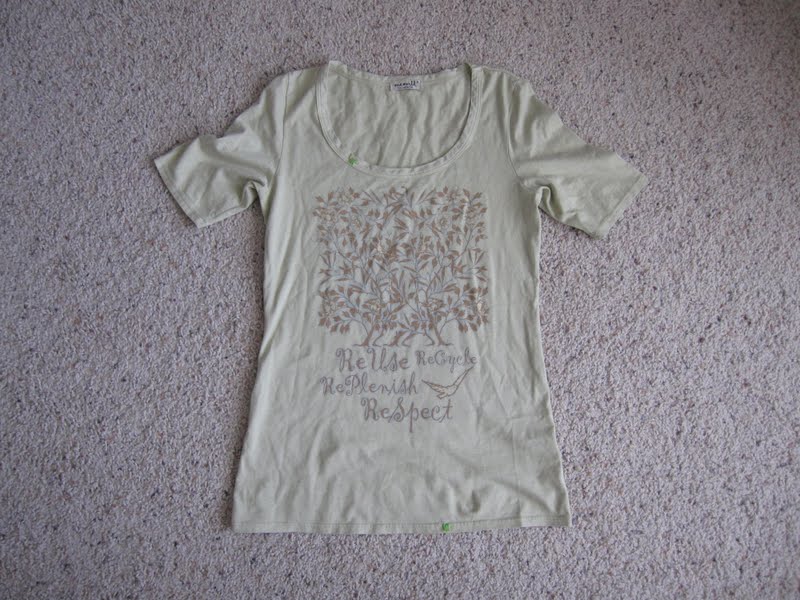
Start with a basic t-shirt.
Simply cut off the arms at the seams.
You can either leave the seams on or cut them off - it doesn't matter.
Next, cut the neckline off. 
See above pic.
Turn your t-shirt inside out and serge or sew the bottom (the part that is around your waist) together.
To square the bottom of the bag, bring the seams together and measure 1 1/2 in  from the corner.  Now draw a line across and serge or sew on that line to cut the corner off like this.
Now your ready to go shopping!

Thursday, May 19, 2011

Door to Headboard

A few years ago we needed a headboard for our bed.  We didn't want to spend much money on it so I made my own headboard using an old door that I found.  I wish I had the before pics cause this door is very old.  I spent a lot of time sanding it down to the wood then painting it black.  After I was done painting it, my dad helped me attach two pieces of wood on the back side that connect to the bed frame.
I really love how it turned out.

Tuesday, May 10, 2011

SLR Camera Bag

A few weeks ago I was stressing about how to carry my big camera around Disneyland.
I really wanted a Jo Tote 

(I LOVE this one
but I bought new road bike shoes instead.  
A friend of mine  found the perfect camera bag for our SLR cameras.
Thanks, Cristi!
  I forgot to take a before pic so this pic is one I found on line in a different color and no wallet.
 I really needed it to go over my shoulder so it could be hands free,
so I added a shoulder strap.
This is the Lily Bloom triple satchel bag. I found it at Sears.
On the outside pockets I added grommets similar to this. 
(It was the biggest one I could find and it came with the tool to set it)
Then I needed to protect my camera.
I found and old shoe box that was for kids' sized shoes (I think around a size 1).  I cut down one of the sides so I could have an opening, and hot glued foam to pad the sides. I also added duct tape (my favorite) to the raw edges just to finish it off.  That part is optional!
It was a perfect fit.
Notice in the above pic that I added an O ring.
I couldn't get my strap hardware  to clip on any other way.
I later added another O ring to the other side.
Before I found my shoe box I found that a
cereal box and a changing pad worked too!
I used a strap from another bag and, VoilĂ .  Good to go!
Hands free camera bag.
By the way, this worked out really great on our trip!!!